This year I’ve met a bunch of really neat people through Sector67. One of the opportunities that they introduced me to is Build Madison. Build Madison is a great chance to meet a lot of smart, creative people who like to make things *and* get help on your project, if you need/want it. You get 24 hours to finish. Anything goes. And you get access to the tools at Sector. If you have a minute, check out their timelapse video of the whole 24 hour event.
I decided it was high time to finish one of the four glass panels for my kitchen cabinet. I didn’t really need any of the *stuff* they had at Sector to finish this but I needed the incentive to start & complete the darn thing (we’re going on year 6 of having a cabinet with clear glass instead of stained glass doors after all). Being competitive can be useful 😉
Stained glass basics go like this:
- Draw a pattern
- Choose your colors
- Cut the glass
- Grind down the edges of the glass so they’re no longer sharp
- Wrap each piece in copper foil
- Solder everything together
- Apply a patina and polish your work and DONE!
Confession: I was doing this whole thing without a written pattern. It would have ended up fitting together more nicely had I created an actual paper pattern first. But it turned out pretty good anyway, I think. Just don’t tell my students that a pattern isn’t always necessary 😉
TOTAL TIME: somewhere between 10-12 hours.
TOTAL COST: TBD. I have a lot of these supplies just laying around at home and it’s easy to forget about sunk costs….
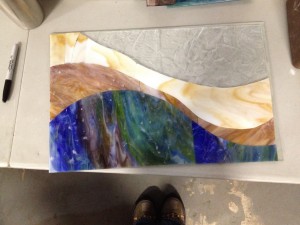
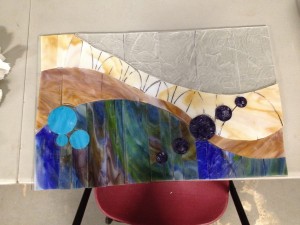
So here’s my progression in pictures. First, I roughed out the main colors:
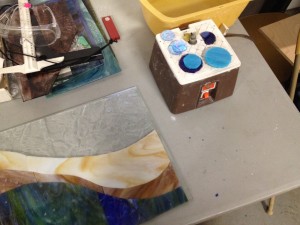
I started cutting and smoothing out a bunch of circles:
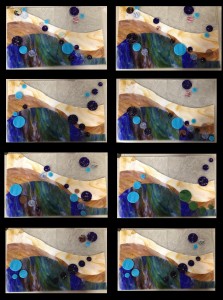
Then I played around with where to PUT these circles:
Then after i FINALLY decided, I worked on fitting the circles into the background while also cutting the background into smaller pieces that would make for an interesting panel:
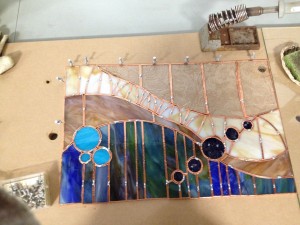
After copper foiling, when you start soldering the pieces together you start by simply tacking together all the pieces so they don’t move (THEN you go back to fill in all the spaces with solder after you’ve ensured the whole won’t shift anymore):
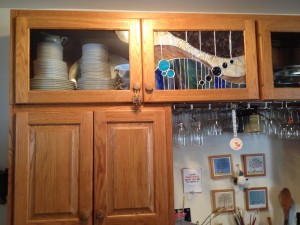
And the final product installed in the cabinet!
Three more to go…. now accepting bets on how long it’ll take me to make these next 3….
